

In our little world of addicts, it is fun to be able to see and share our individual ideas and designs with other fellow addicts. There are so many ways possible of doing this, but before we can start…some of us need a way to “stitch” our pictures together to show the entire design area due to we can only zoom out so far in the Simpsons Tapped Out game. In this post, we will show you an alternate way you can do this yourself.

Let’s start out with a quick explanation. What is “stitching” or a “stitch”. Simply put, it is when you take two or more photos and link/overlap them together in a way that you make one complete design. Kind of like stitching together pieces of fabric to make a quilt. The way you stitch them together will change the design or look of the quilt.
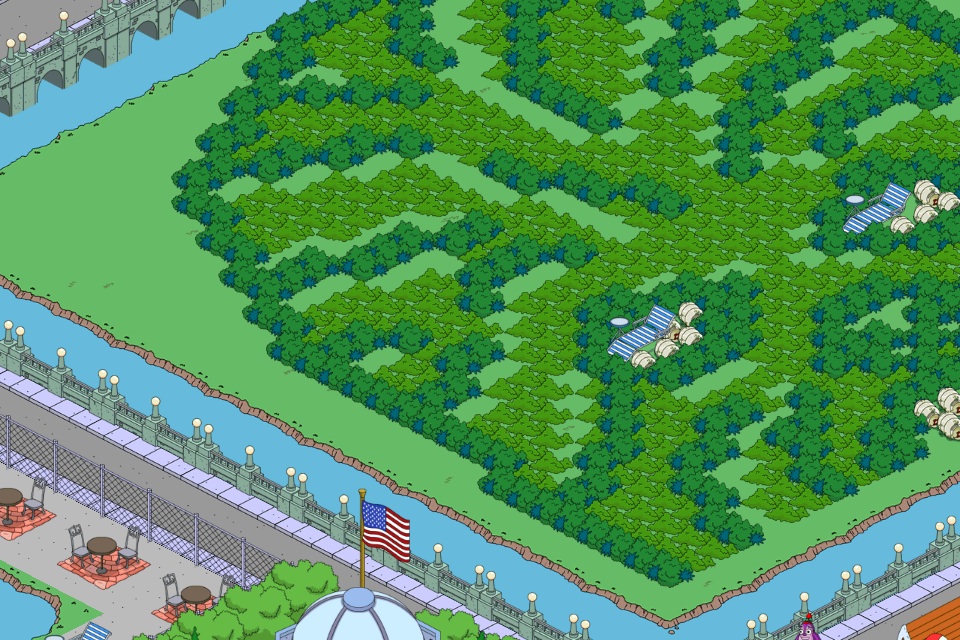
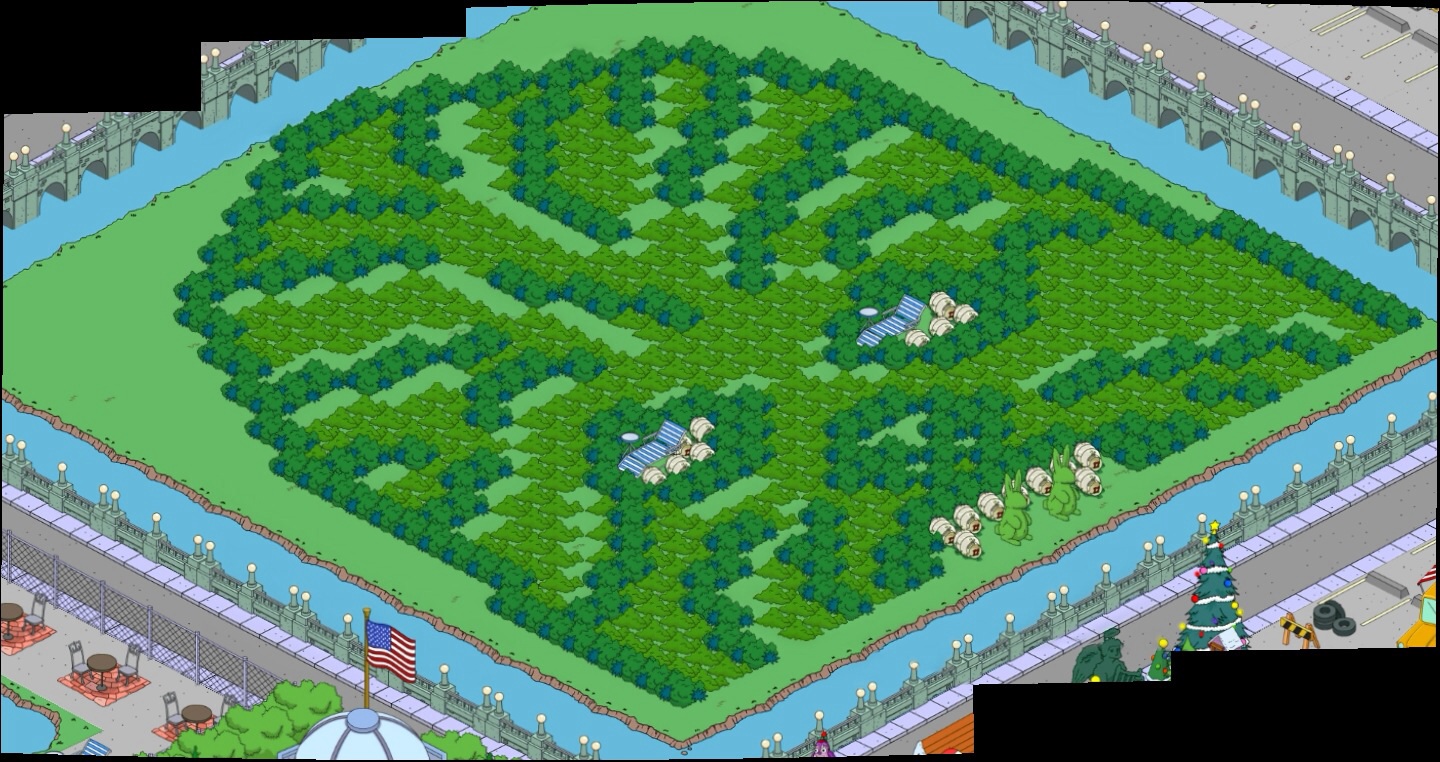
In Bunny’s World…
For me I do not like to use the apps currently out there. Why? I tend to get OCD at times and have found some of the stitching apps I have used in the past did not match two points together properly. This made the image seemed curved or distorted in the end. Also, it was limited on just how many it could stitch at a time. Bunny will not be limited. LOL. (If you’d like to be limited, just scroll on down to how Fuzzball does his easy/lazy stitching.)
So I have turned to old fashioned desktop computer programs (lol @ old fashioned). This will seem a little long just due to the fact I want to provide as much detail as possible to help answer any questions. So grab a snack, beverage of choice, and hunker down…we’re gonna take a ride through nerd/geek territory…some may get lost and not return…there will probably be some crying…some may just give me weird looks and tune me out the rest of this post….and there they go.
My home computer came with a lot of add on programs, one being Microsoft Office 2010 Professional Edition ( I also have a 2007 Student Edition that works well). Within the many individual programs offered in this set, the go to one I constantly use is Microsoft Publisher (this is also found in other editions). It works great for creating a lot of my 2D stitching and town stitching not to mention creating other daily items.
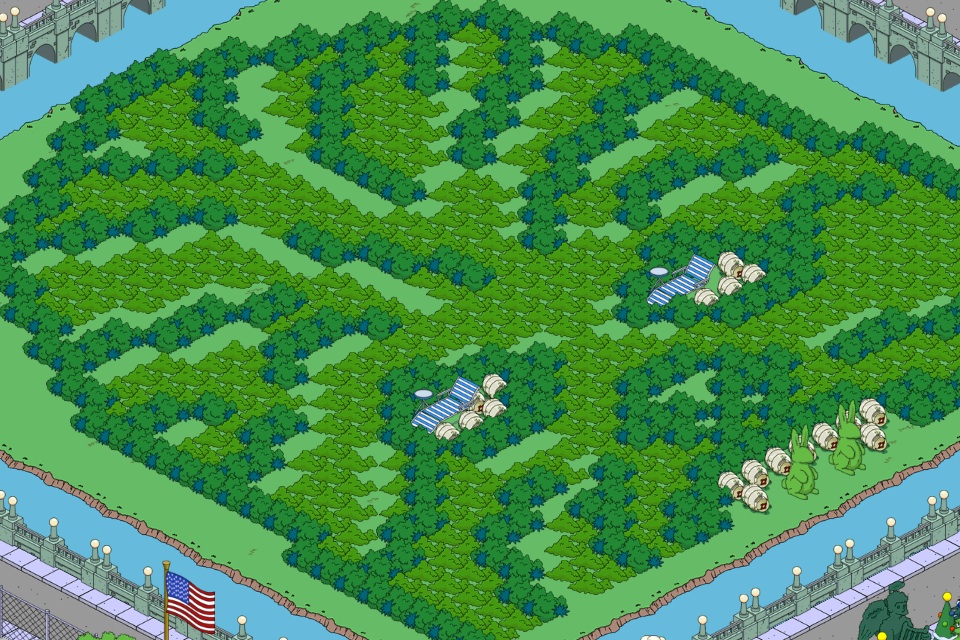
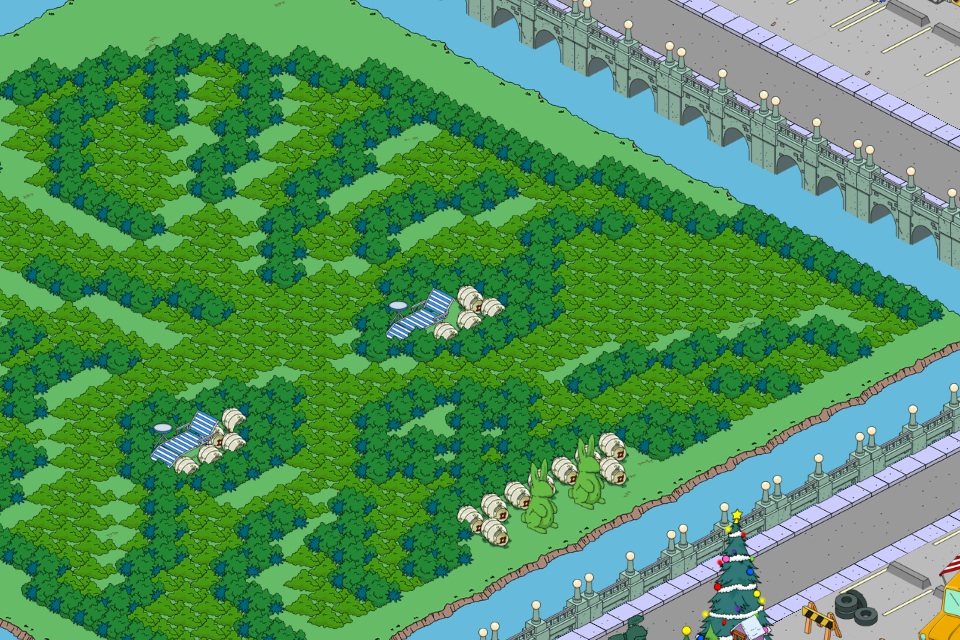
I first screenshot all the area(s) from my TSTO game that are going to be needed. This could be just a handful, like my 2D art. Or it can add up to over a hundred, like in an entire town stitch (I like to over lap as I pass over each area to ensure I do not miss a spot …like the small strip right above “bunny” in my town stitch). Downloading these to your computer is up to you. You can just hook up your phone to your computer and download them. I personally like to use Dropbox. I have it as an app on my phone and it is downloaded on my desktop with the option to sync to my computer turned on. So as soon as I add any picture to my Dropbox, including screenshots from my phone, it is automatically saved to my desktop as well making access to pictures that much easier.
Once I have all the photos I want loaded into Dropbox, I open up my Microsoft Publisher.


Now as far as the size page I want to use, this really doesn’t matter…anyone will do. I normally use the 8 1/2 x 11 or 11×17 landscape size.
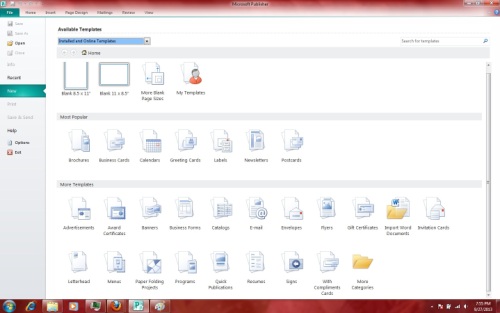

Once a page size is selected, you will now be able to add items to that page using the “insert” option. In the 2010 edition I have, this is a tab up at the top. Once I click on the tab, the option for “picture” is the one I will be using. (Some editions you have to select to add a picture from file NOT clipart).

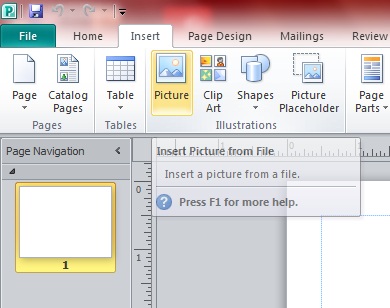

Once you click on “picture”, you will be directed to the many folders on your computer. Just locate and select the one you are looking for. I am using Dropbox, so I locate that folder. Then I search for the screenshots I saved from my town (I usually create an individual folder for each project) . I then go through and select all the photos I took for the “stitch” I am making. Once the photos are selected, I click on insert. (Selection can be made by clicking on the first picture then while holding the “SHIFT” key, click on the last picture. This will select them all. If you have them spread apart in the same folder, you can instead hold the “CNTRL” button and just click on the individual pictures. This will select each one individually, but will continue to save the previously selected pictures).


Now all my photos I want to work with are inserted into my Publisher page. It is at this initial point I will downsize my photos to a more manageable size. I do this by first making sure every single picture is selected, so they all end up same size (this will mater when stitching). If they aren’t all selected already, just press and hold down the “cntrl” key and the letter “A” key at the same time, then let go. This is a “select all” shortcut.

In the bottom right corner of all of the selected photos is a lil dot. You will select this corner with your mouse and hold it as you move towards the center, shrinking all the photos at the same time to a desired size. Then let go. You are now ready to work.

While all the pictures are still selected, I like to move them all over to the side so I can have an open workspace. To do this you just click into the center of front pic and hold while you move it off to the side. Then let go.

You still with me. Need to take a potty break? HURRY UP!!!
Done now? Hey, where did you get that donut? I hope you brought enough for the class or you’re in trouble.
On to the stitching. Work with one picture at a time (two to start out. the base and the first add-on picture). Much like a puzzle, I like to work with the corners first. Usually I will start with the top row if doing a town stitch. Lay the second/add-on picture over the first, lining up the similar areas as close as possible.

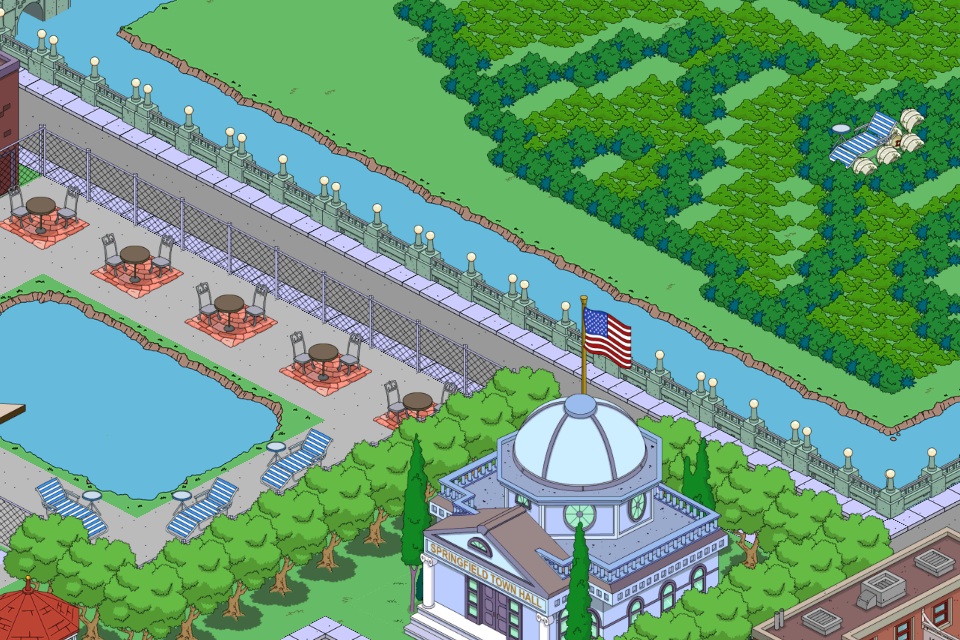
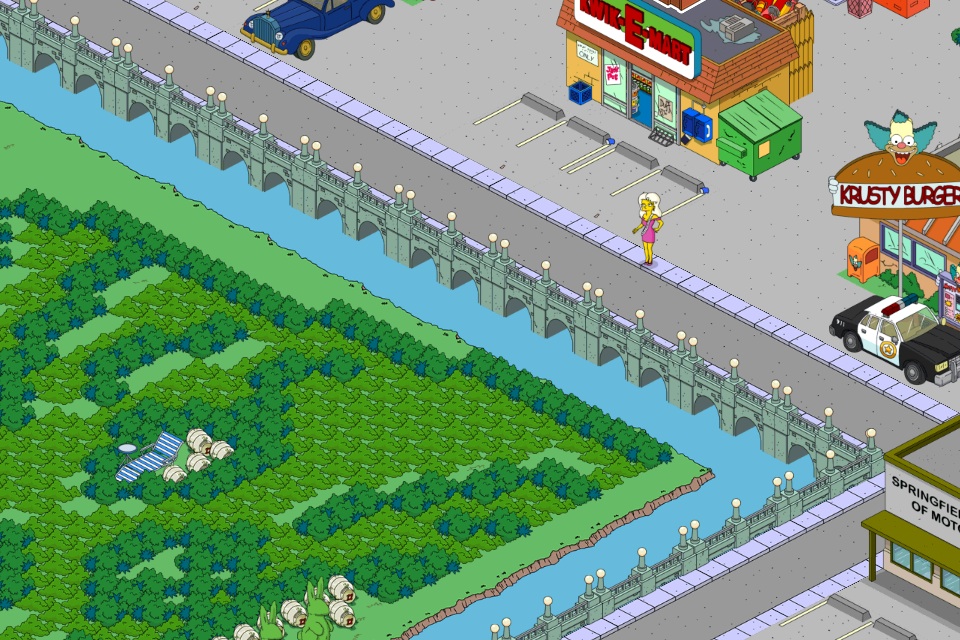
Now for some tweaking. Zoom in on the add-on picture, I like to go in to at least 400% or more to see as many details as I can. Now as you can see, the pictures just are not quite lining up. You won’t be able to see this kind of detail zoomed out. Look at the benches. I always like to look for a line or post or any item that I can use to…well…line it up to. From here you will click on the add-on picture and move it up, down, left, and right…whatever is needed until it lines up and the images disappear into one another. Check a few areas around the add on picture at each side, just to ensure it lines up all around.


You can then zoom back out and select another add-on picture. Continue this until you have all the photos and the area you want stitched together.
Now complete and all stitched up, you want to make the many pictures into one single picture. You do this by “grouping” the pictures all together. First select all the photos. CNTRL+A works great again to select them all. Now move your mouse over the center of all the selected photos and right click on your mouse. The mini menu will pop up and you will see the “group option”. Select it and now all your pictures become one as a whole. Unsure you got them all? Try moving them up and down to see if any were left behind. Don’t worry, you can always use the arrow back to return to where you started. (The “group” option may also be available up top in the menu).


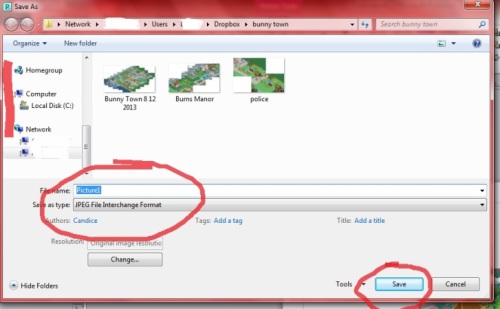
Now to save your picture. Right click on the now grouped picture. This time select “save as picture”.


You will be brought into your computers folders, locate the one you want to save the picture to. Select/open it. Now before you click on that “save” button, a few notes. Pictures can take up a LOT of space. Also, many sites have limit on the size of picture you can upload to their page. This is where it is important to select the type of photo you want saved. I have found the JPEG is the most universal. The size is smaller and the quality is still decent. Don’t forget to name the photo too. It will make finding it later/downloading it to another page or site much easier. Now that you have those items taken care of, go ahead and select “Save”.


Now you have a stitched photo that you can show off to your other fellow addicts. Or enter into contests (hint hint).
I understand this way may seem tedious and time consuming. Your first few may take a lil longer until you get used to it, then it goes really fast. Overall, I agree this is the longer route…but for those wanting to make things just the way they want them, I like to have this available to use. I can also add captions, names, and anything else I want to it as well. Just got to group the extras to it and save the alternate/additional version.
Hopefully this wasn’t too much for yah. You OK? Need a hug? Huh? WHY NOT??! K, so I am being told it would not be PC to hug my readers…so no fluffy snuggles for you. Sorry.
Til the next confusing time of a lot of words…
***BUNNY***
SNITCHES GET STITCHES… AND ADDICTS DO TOO!!!
Hey Addicts, fuzzball err I mean Wookiee here. As I’m nowhere near as tech savvy as the beautiful and hilarious bunny, she asked me to provide another method for creating stitches. Bunny showed every one how she makes her amazing stitches. Not only does she do this for herself, but also for a few select lucky people that dearly appreciate her talents. So glad I was born lucky and not SMRT.


Bunny’s way is really the best way to go, but for those of you that are a bit technologically-challenged like myself, there are other options.
For my stitches, I use a program called Autostitch on ioS. For $1.99 American, it really works pretty swell. I know of tappers in Sweden and the UK that use this app as well and the price seems to be consistent based on standard conversions. For Android users, I couldn’t find the app in the Google play store but my teenage daughter tells me there are amazing stitch apps for FREE (and once again reminded me that I’m lame for having an iPhone and being addicted to all things TSTO lol).
Alright… gonna try and break this down step by step.
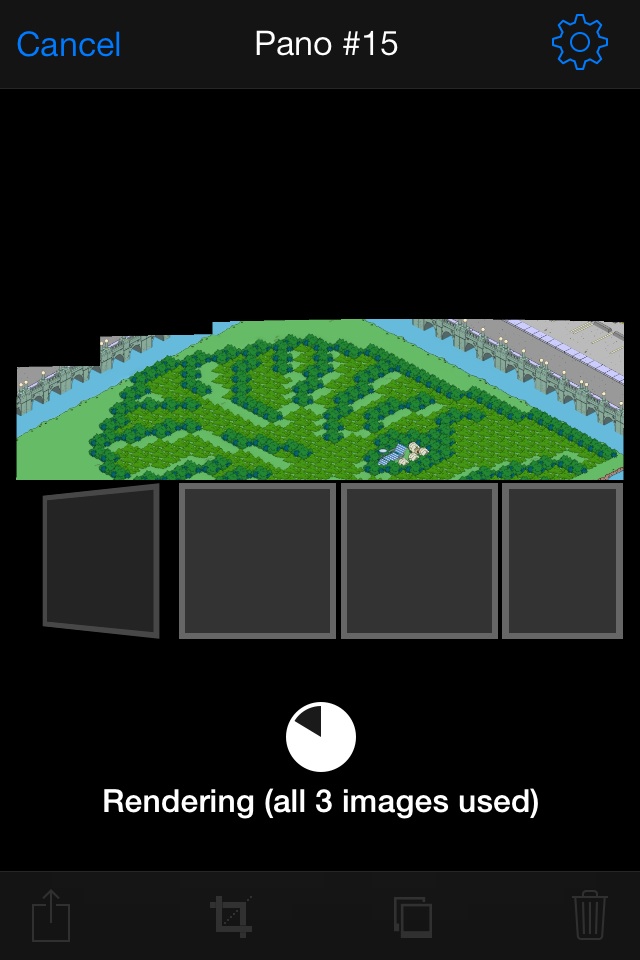
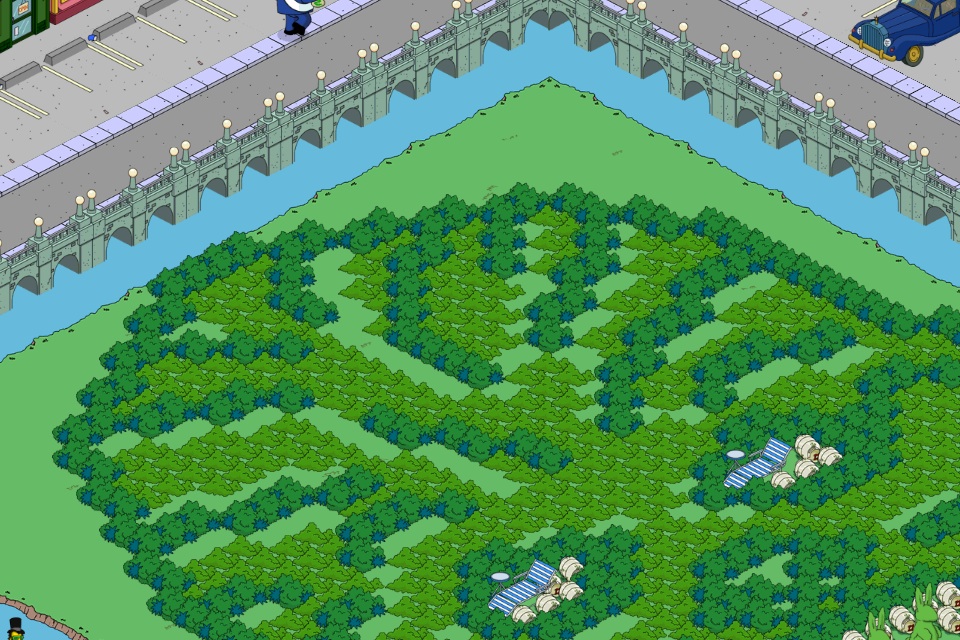
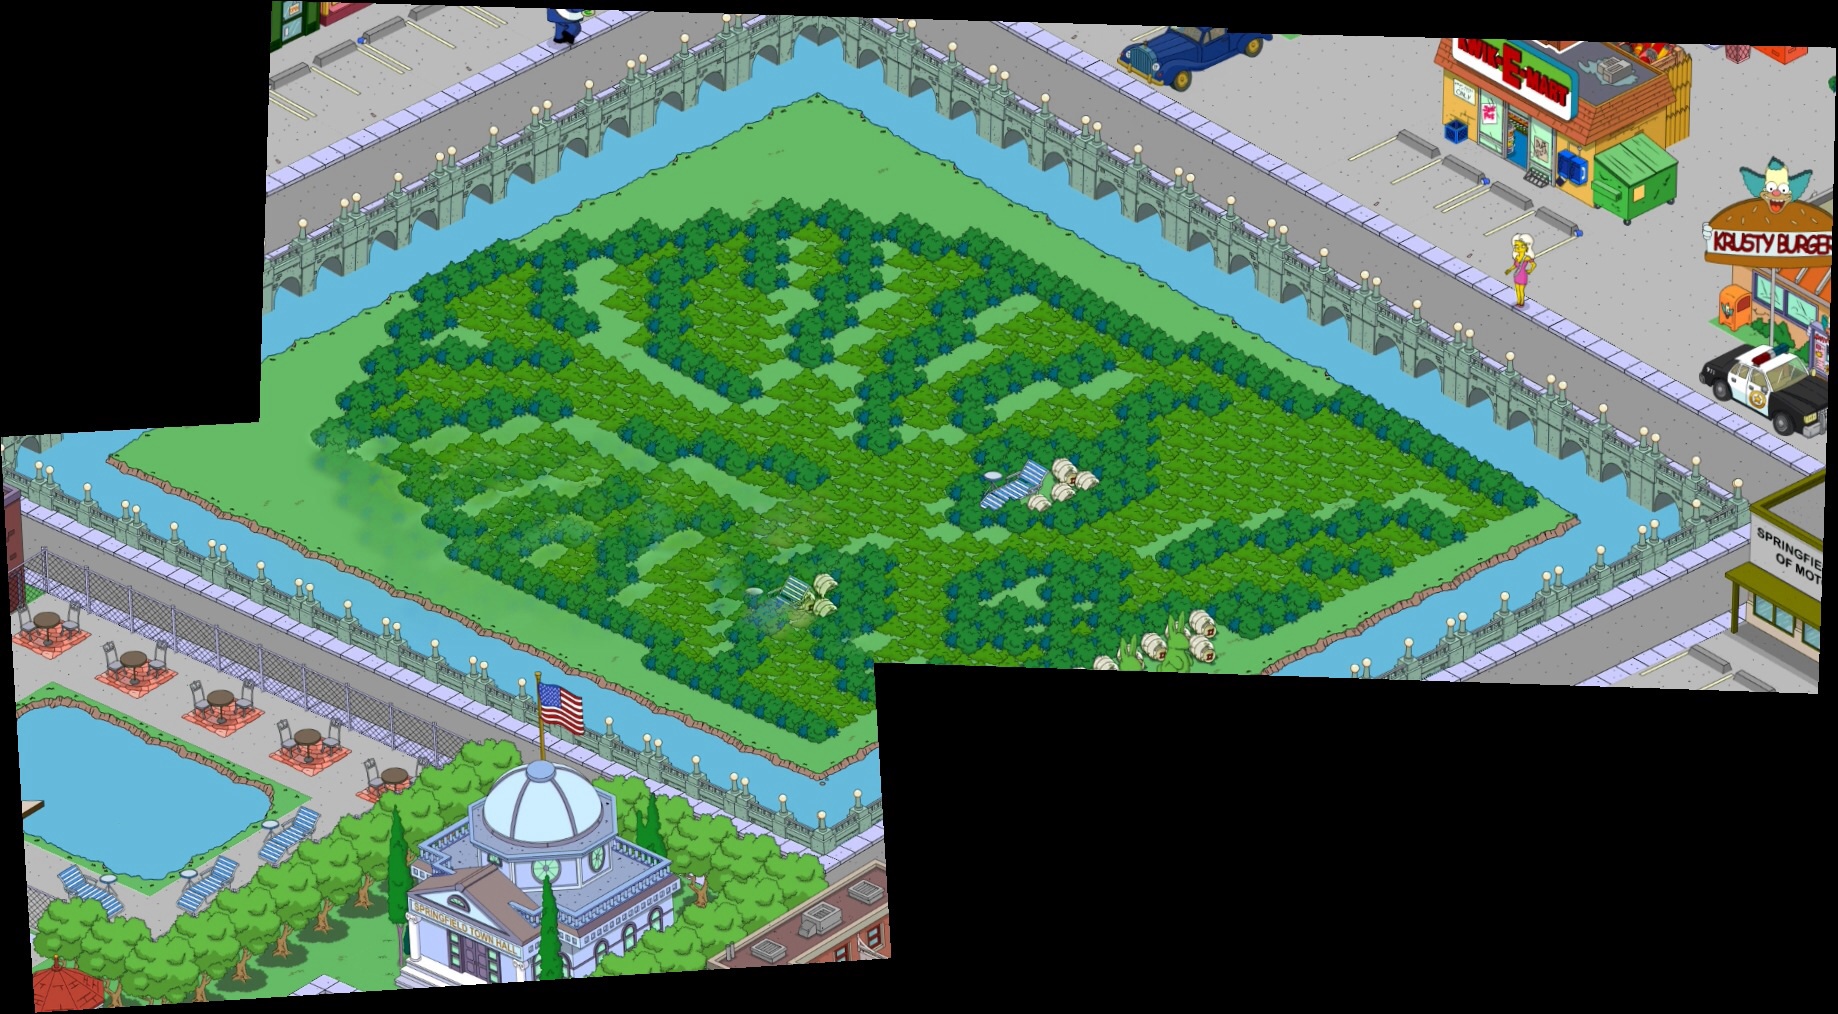
Step 1: Go in to your game and screenshot whatever it is you’d like to stitch. (Click here to see how to screenshot.) I chose my opening screen for this example. Although two pics could have done this, I chose to use three overlapping shots.
THIS IS WHAT YOU FIRST SEE WHEN YOU VISIT MY SPRINGFIELD BTW.
Step 2: With your pics ready. Open up the app.
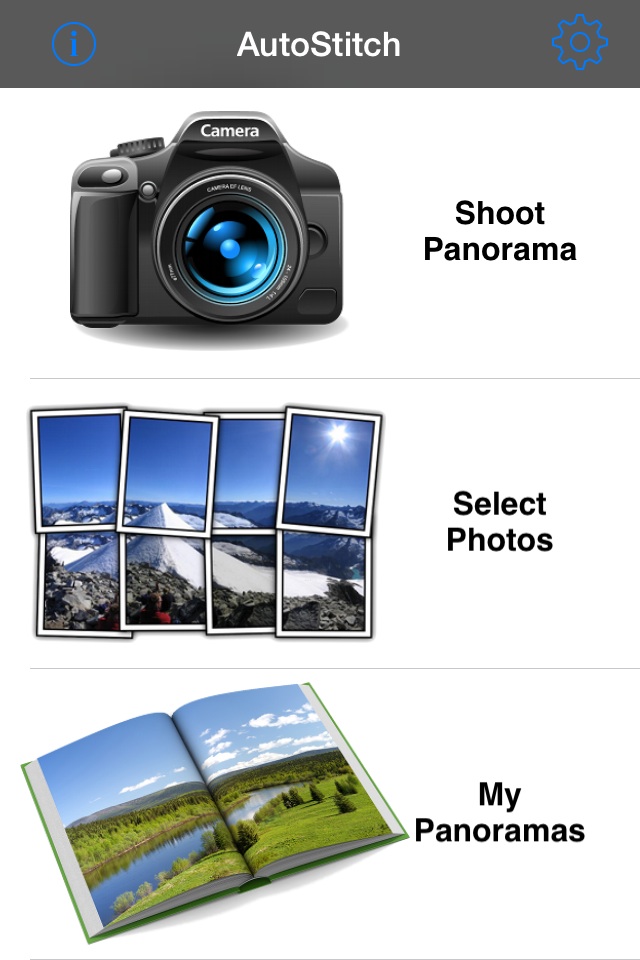
The opening screen for my app looks like this and is pretty self explanatory.
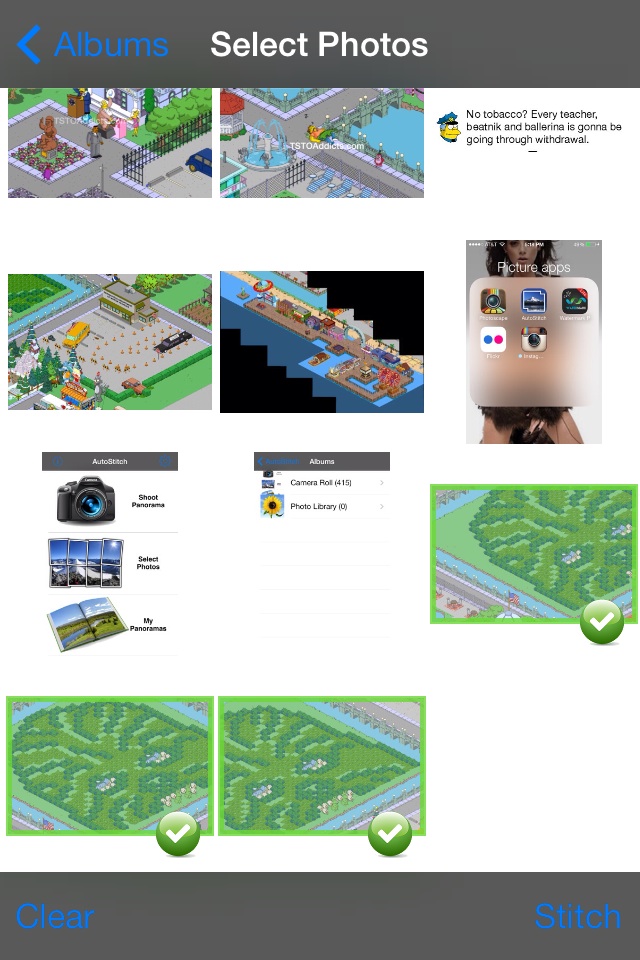
Step 3: Choose the images you’d like to stitch and then tap stitch in the bottom right corner.
Step 4: Let the app do what it does best and cross your fingers it turns out ok.
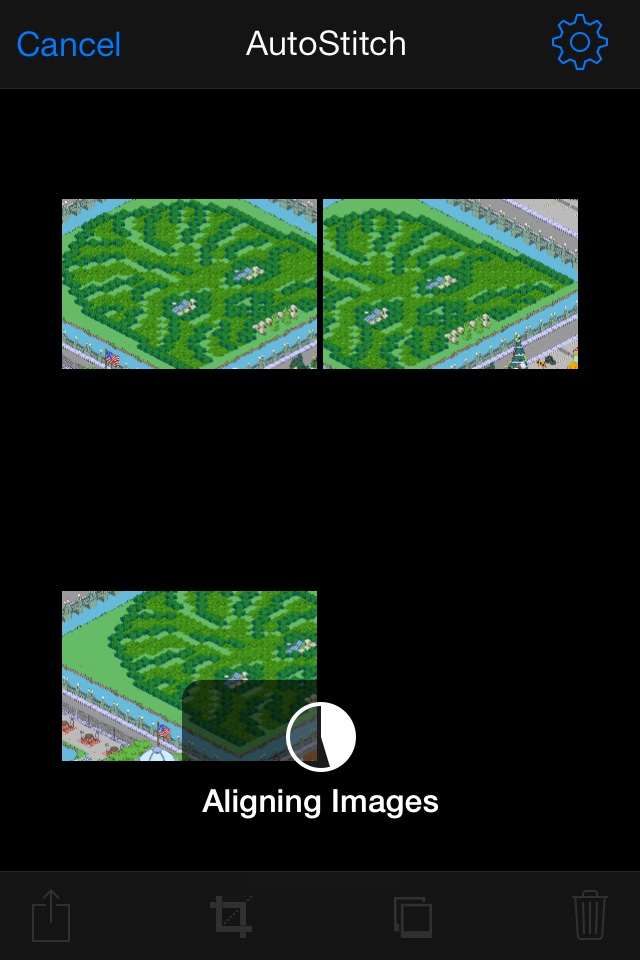
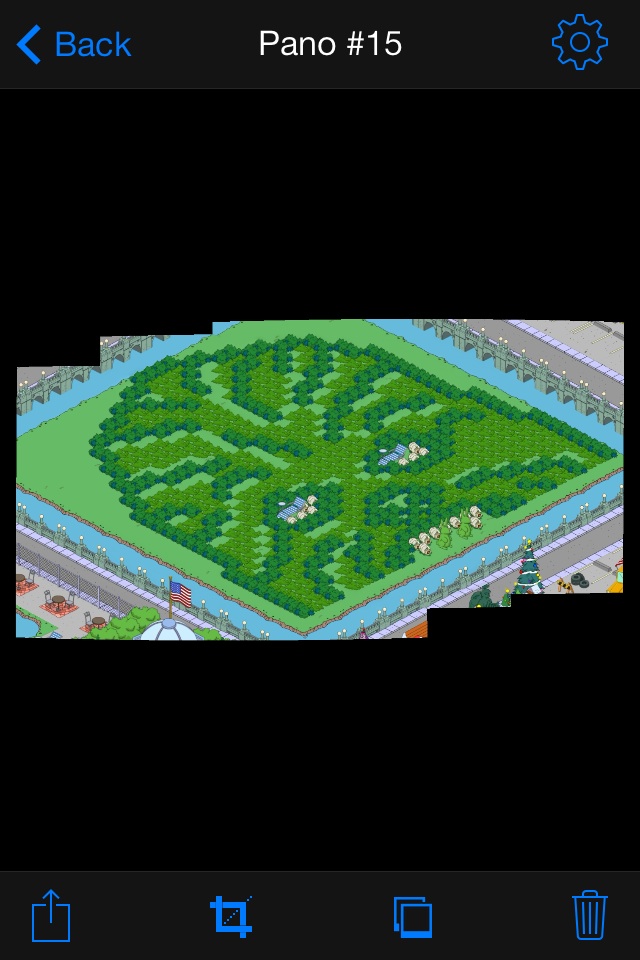
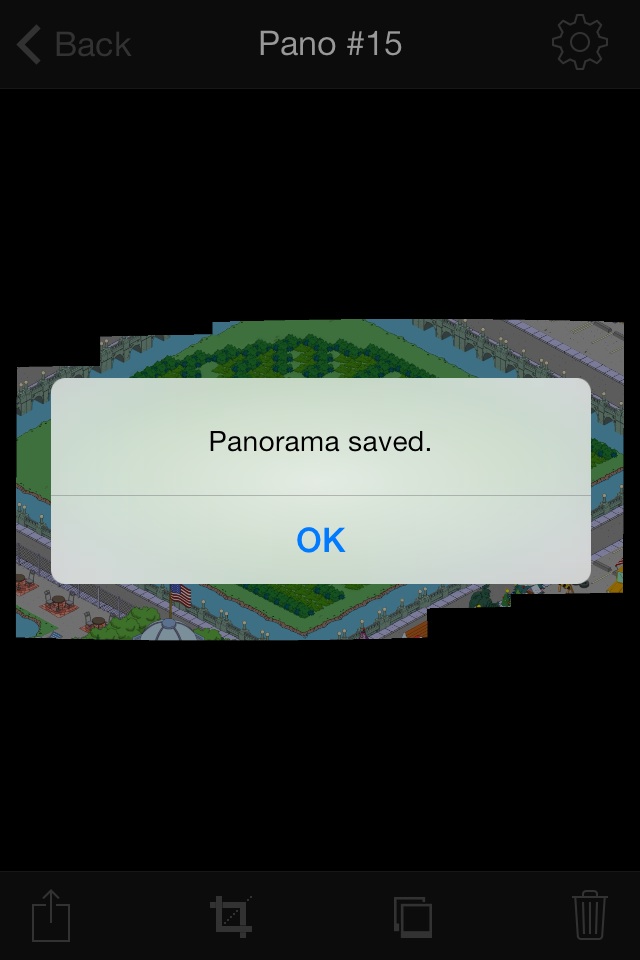
Step 5: Once the stitch is done and you’re happy with it, click on the bottom left icon to save the image to your phone. (The little trash can on the right is how you discard the stitch.)
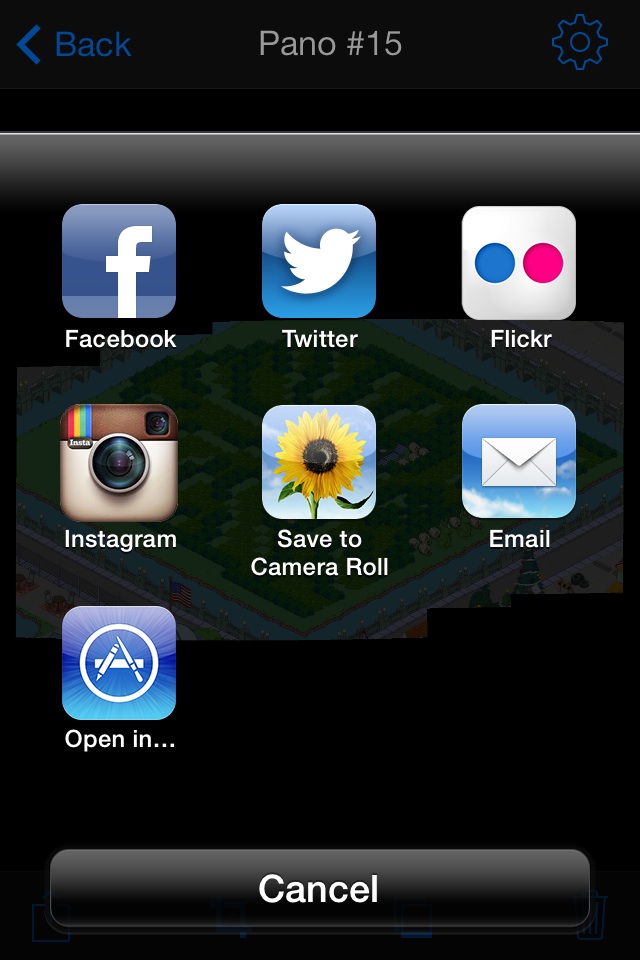
TADA!!! Your stitch is now saved for you to use wherever you like. Now all you have to do is throw the image in your media account (I use Flickr currently) where you can then link it out to your hearts content.
One minor note regarding this app. While I have successfully used 12 pics for a stitch, once you go higher than 7-9 images, things can get a little wonky. Also, make sure there are several reference points betwen images for the app to connect or really weird things can occur. Here’s an example of 2 bad screenshots being merged.
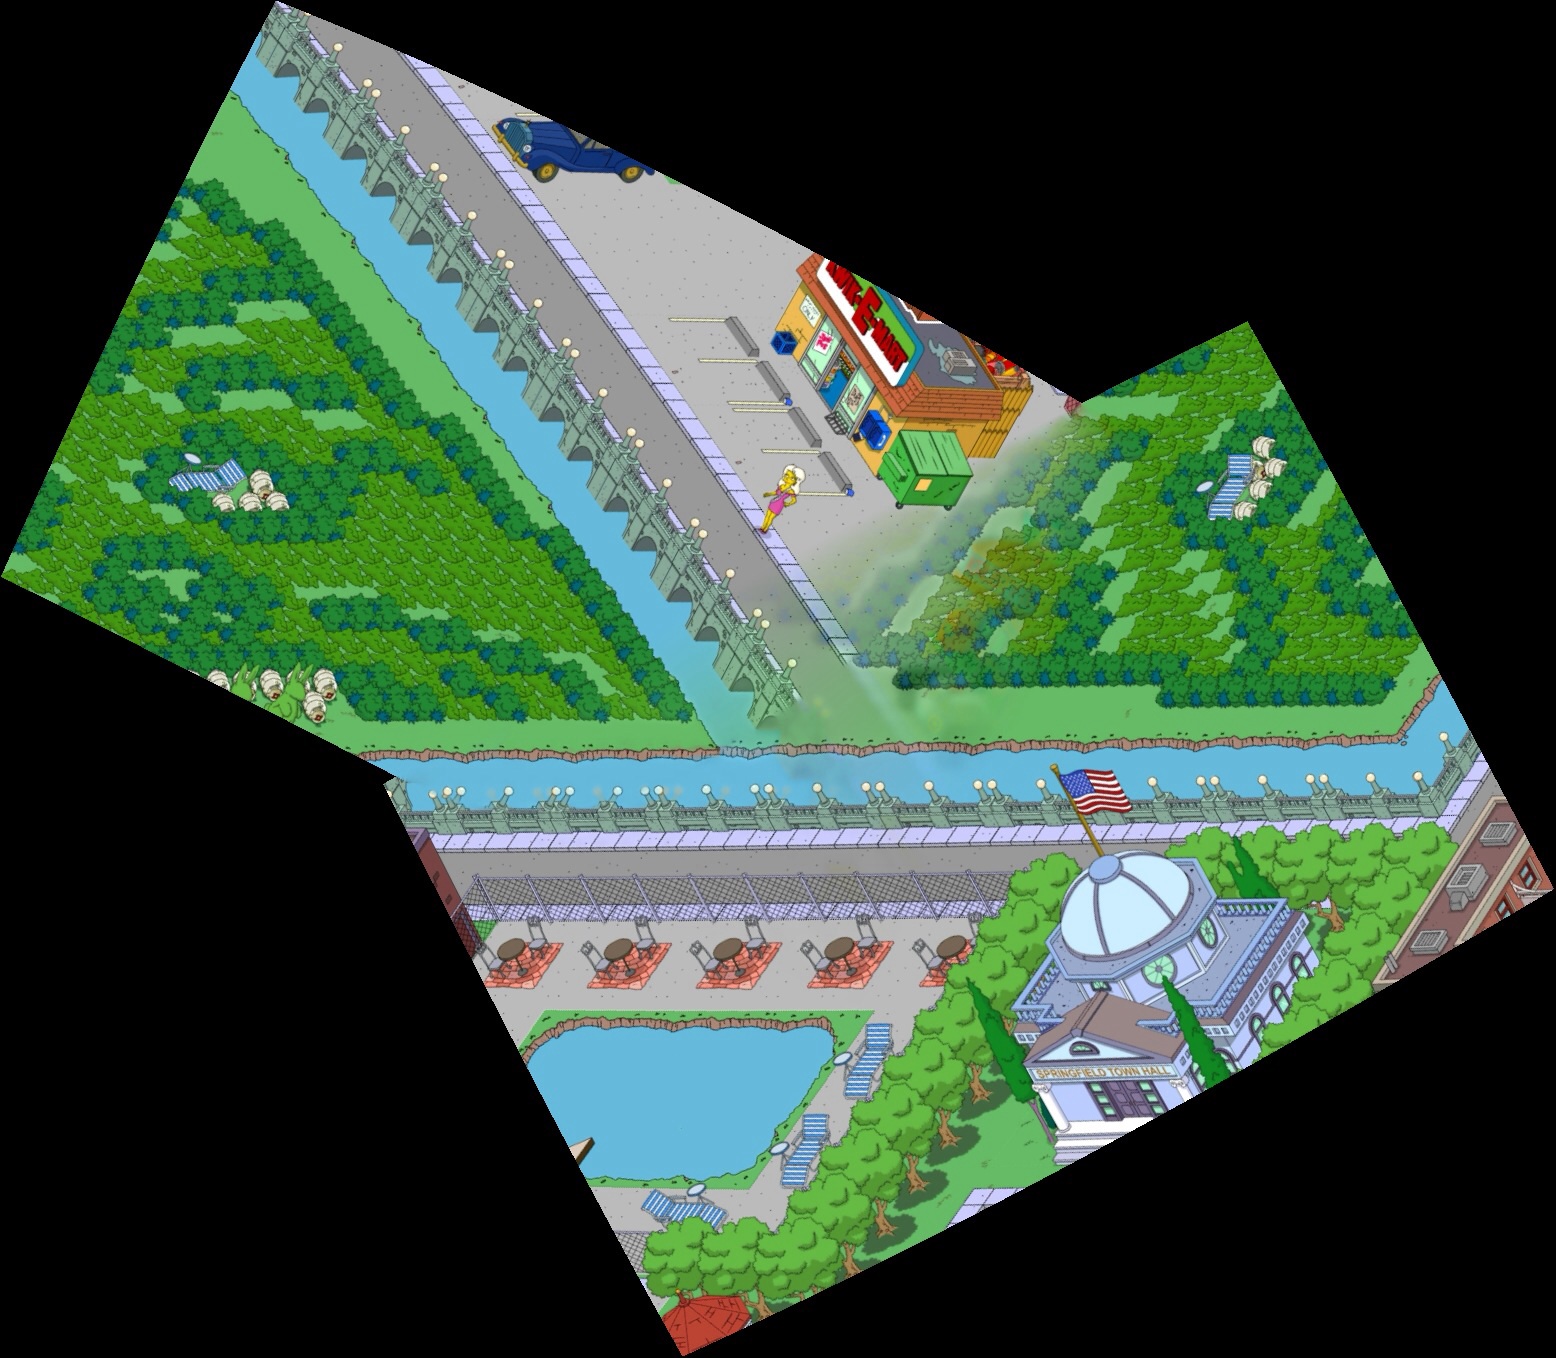
Even adding an image to try and save the stitch wasn’t completely helpful.
Just take your time when screenshoting and everything should work out good. Take care tappers and until next time, I remain The Wookiee.