

Hey Howdy Hey Tappers!
Ah the Crafting post….where I give you the how-to and break down each and every item available to craft, so you don’t miss a thing!
Love it or hate it, EA has proven over the last couple of years that crafting is here to stay. While the prizes themselves are pretty self-explanatory, collect this to earn these prizes, crafting is a whole other “animal”. Crafting requires some self-direction. You decide what you want and collect the items to craft accordingly. Sometimes this is successful and sometimes it’s not. And, as with all things, for some events crafting is easier than others.
While we thought they finally did away with crafting after the last event, Moe’s Ark, it’s back and the same as always for THOH. Now I know some of you still have questions so, let’s take a look…

By now everyone should know how crafting works. But for those who don’t, I’ll cover the basics again. But real quick, so I know a chunk of you will scroll down to the item breakdowns anyway…
And now onto the basics….
Crafting is triggered via the Holy Forge via the MAIN questline…Biting Back Pt. 6
Tapping the Forge will give you an option to view the crafting menu. You can also access the crafting menu via the event hub menu by clicking the trophy icon and then the crafting icon…


The Crafting Currency is Incantations and they look like this:
![]()

You can earn Crafting Currency from:
-Clearing Minions (your town & neighbors)
-Dig Site
We’re back to leveling up for this one. However, this one is a hybrid of leveling up and having to wait for a new Act. Some items will be unlocked for Act 1, and you’ll have to level up to hit them, and other items will remain locked, no matter what level you’re on, until the next Act hits.
Each level unlocks more items to craft, for each Act. You spend crafting currency to level up. And once again they’ve decided to stick with what’s worked in the most recent events, you do NOT have to choose between Leveling up and Crafting. The currency you spend to Craft items will count towards the currency needed to Level up!
Similarly…you DO NOT HAVE TO CRAFT ITEMS TO LEVEL UP. You can level up by simply tapping the green button next to the level up bar.
It still takes crafting currency, but it prevents you from crafting a bunch of stuff you may not want in order to level up.
Also, as I broke down earlier this week in the Tome Post Crafting Currency helps upgrade the Flanders Family Tome but you DO NOT NEED TO SPEND CRAFTING CURRENCY TO UPGRADE THE TOME. It upgrades automatically for you without spending a single currency. So relax when it comes to Tome Upgrading.
There are 10 total crafting levels. You’ll start at Level 1 so you’ll need to level up 9 times (to reach level 10), in order to unlock all of the craftable items. Here’s the breakdown of how much currency is required to reach each level and unlock new items:
| Level to Reach | Currency Required to Reach |
| 2 | 600 |
| 3 | 1800 |
| 4 | 4,050 |
| 5 | 6,450 |
| 6 | 9,600 |
| 7 | 11,100 |
| 8 | 12,750 |
| 9 | 15,100 |
| 10 | 17,400 |
Levels 1-3 are required for Act 1
Levels 4-6 are required for Act 2
Levels 7-10 are required for Act 3
Note: You will also need to unlock certain prizes via the Dig Site (Relic prizes) to unlock various crafting items. If it’s a duplicate item from the Dig Site you’ll need to unlock that first before it unlocks in the crafting menu for duplicates.
And as with previous events, crafting ends when the event is over. There’s no rush to get it done now (well aside from the Arrangement Bonus and the questline requirements), you can wait until the event is almost over to get everything your tapping heart desires…HOWEVER…you’ll want to craft items with the Arrangement Bonus in order to max out your currency rewards. So you’ll need to do some crafting before the event is over.
So now that we’ve gone over those basics, let’s get to why most of you are reading this post…the breakdown of each craftable item.
Let me preface this by saying, for this event most of the craftable items are decorations. Therefore, what to craft and how many is entirely up to you…as to what you think will work best in your Springfield. There are some great decorations that can work in a variety of ways in Springfield (depending on how you’re building your town) but it’s up to you to determine what works best for your town.
Now here’s the breakdown for Act 1 (when Acts 2 and 3 hit we’ll post about the breakdown on those items):

Item: Vulture Tree
Level Required: Level 1
Cost: 300 ![]()
Size: 2×2
Conform-O-Meter: Tree-Hugging +100
Arrangement Bonus: 0.40%
What Does it Do: Animated when tapped, but basically it’s a tree.
Unique?: No.

Item: Spooky Shrub 1
Level Requirement: Level 1 and Unlock from Relic Prizes
Cost: 150 ![]()
Size: 1×1
Conform-O-Meter: Tree-Hugging +100
Arrangement Bonus: 0.20%
What Does It Do: It’s a bush.

Item: Spooky Shrub 2
Level Requirement: Level 1 and Unlock from Relic Prizes
Cost: 150![]()
Size: 1×1
Conform-O-Meter: Tree-Hugging +100
Arrangement Bonus: 0.20%
What Does It Do: It’s a bush.
![]()
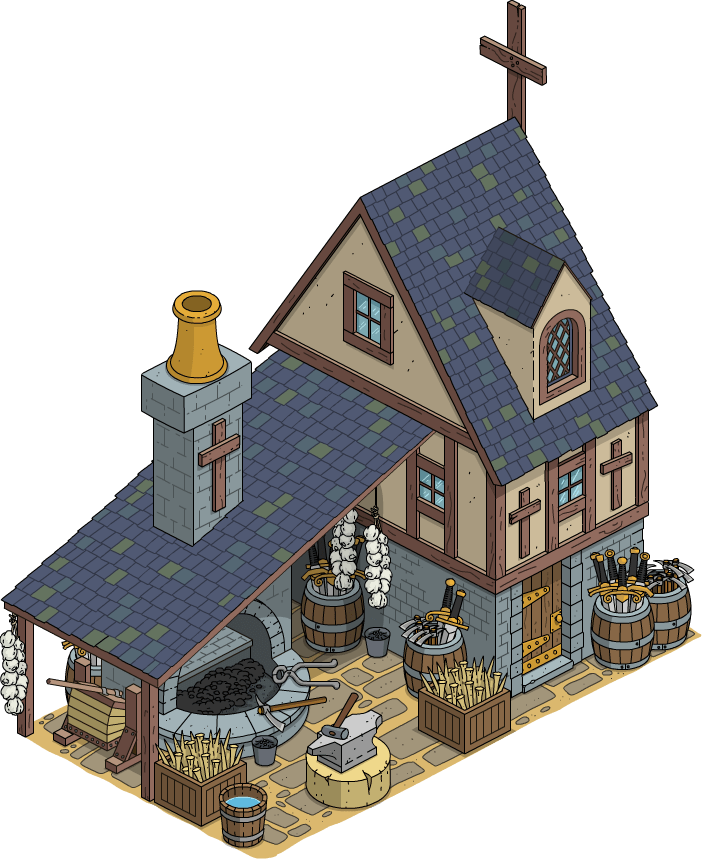
Item: Transylvania Cottage
Level Required: Level 2
Cost: 750 ![]()
Size: 3×6
Conform-O-Meter: Indolence +10
Arrangement Bonus: 1.80%
Earns: $150, 13xp/8hrs
Build Time: 4hrs
What Does it Do: Income earning building
Unique?: No.
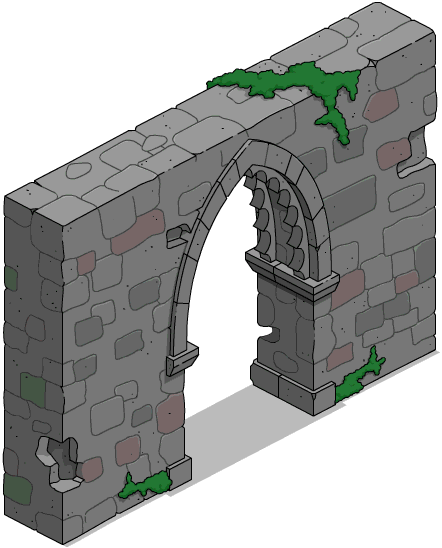
Item: Stone Arch
Level Required: Level 2 and unlock as a relic prize
Cost: 450![]()
Size: 1×6
Conform-O-Meter: Vanity +100
Arrangement Bonus:0.50%
What Does It Do: Otherwise just a decoration
Unique?: No
![]()
Item: Transylvania Chalet
Level Required: Level 3
Cost: 1,050 ![]()
Size: 4×8
Conform-O-Meter: Indolence +10
Arrangement Bonus: 3,20%
Earns: $150, 13xp/8hrs
Build Time: 4hrs
What Does it Do: Income earning building
Unique?: No.

Item: Ornate Ruin Wall
Level Required: Level 3 and unlock as a relic prize
Cost: 600 ![]()
Size: 1×8
Conform-O-Meter: Vanity +100
Arrangement Bonus: 0.70%
What Does It Do: Nothing, another wall.

Item: Summoning Circle
Level Required: Level 3 and unlock as a relic prize
Cost: 600![]()
Size: 4×4
Conform-O-Meter: Vanity +100
Arrangement Bonus: 1.6%
What Does It Do: Unlocks the ability to craft more Summoning Circles. Animated when tapped.
My Recommendation on Crafting Currency…
Should you save or should you spend? Max out your Arrangement Bonus and reach level 4, then start hoarding your crafting currency for Act 2. That way you can get a good start on the new craftables once Act 2 hits. But make sure you reach Level 4 before you start saving since Level 4 is the first level required for Act 2 craftables.
So again…don’t kill yourself trying to get all this stuff. Sometimes less is more. Craft what you have a use for in Springfield….
Hope that helps some of you who have been stressing out over crafting!
And there you have it my friends…the details behind Act 1 of the Treehouse of Horror crafting!
What are your thoughts on crafting? Which items are you digging? Which would you pass on? Sound off in the comments below, you know we love hearing from you!